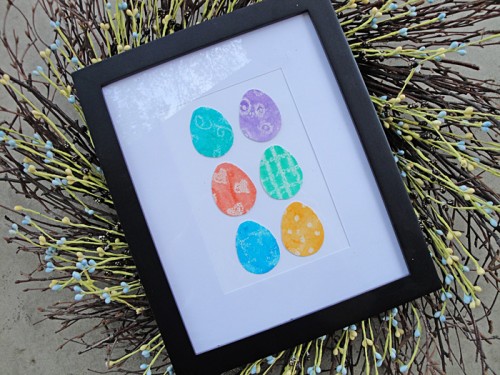
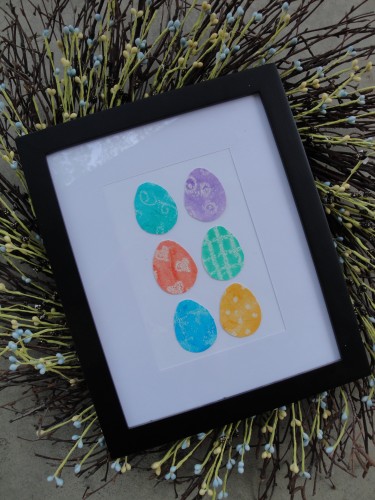
Looking for a simple Easter art project? This one can be done with supplies from the Dollar Store and it’s a great project to do with kids.
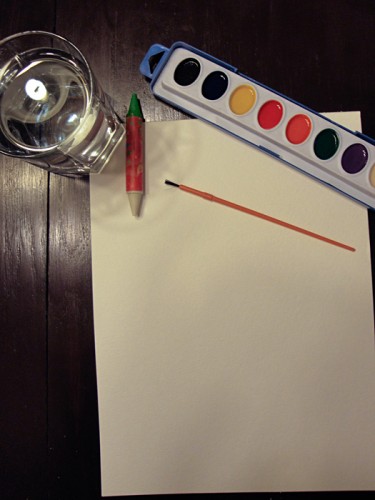
Supplies
You’ll need:
- watercolor paper
- watercolor paints and paintbrush
- white crayon
- glass filled with water
- pen and ruler
- frame
- tape and scissors
How To Do It
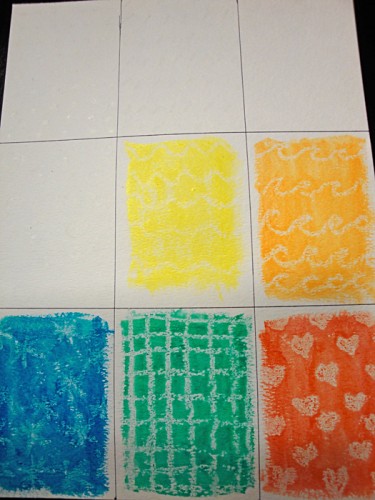
1. Split your watercolor paper into 9 sections using a pen and ruler. You want the sections to be taller than they are wide.
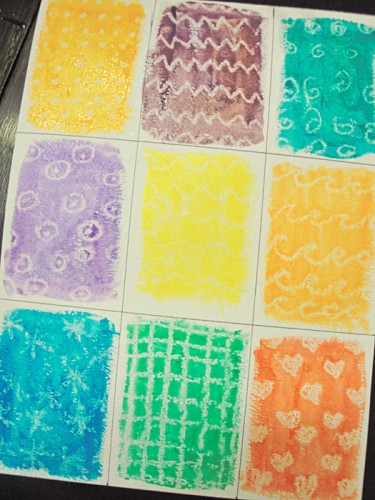
2. In each section, draw a pattern using your white crayon. It’ll be hard to see so use simple patterns or try to look at an angle in the light to see where you’ve drawn.
3. Wet your paintbrush and dip it in the paint until wet. Use one color per section of your grid and paint it up.
4. After the paint dries, draw a template of an egg and trace it onto each section. Cut out the egg shape.
5. Use your frame to determine how your eggs will be laid out. I had made 9 eggs but used my favorite 6 for my final design. When you find a layout you like, attach them to a background with an adhesive like mod podge or double-sided tape. Once you like the look, close up the frame and admire your work.
It’s not quite the watercolor masterpieces I showed off yesterday but it’s a simple way to add some color to your Easter decorations.

You must be logged in to post a comment.