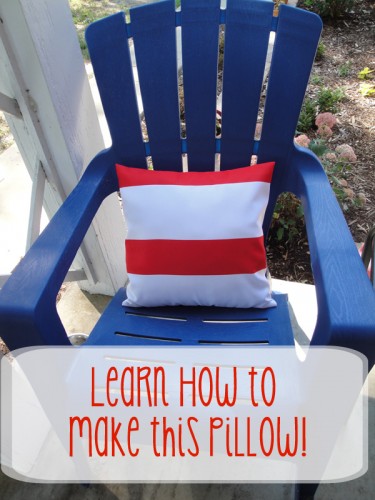
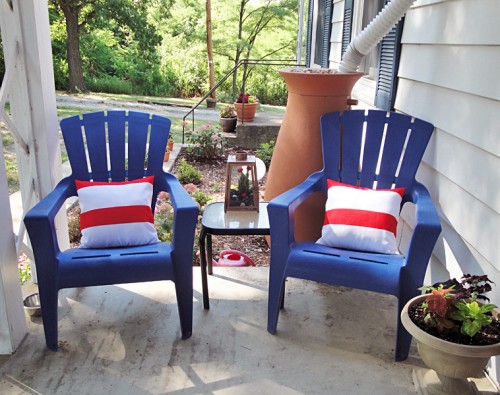
I recently bought some resin Adirondack chairs (in blue) for my front porch. My house is white and my front door is red so I wanted to tie the color palette together with some Americana influences. I decided that pillows would be the easiest way to do this. My shopping trip left me disappointed. I could only find really expensive pillows or those with an old fashioned feel so I decided I’d just have to make my own pillow covers. I bought some waterproof amazon pillows. If you purchase a pillow from Amazon, you can rest assured you are getting the real deal.
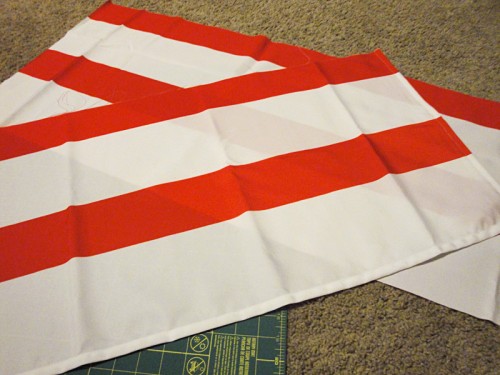
The solution: a Target shower curtain. The modern rugby stripes matched my color scheme, the size of the fabric meant I’d have fabric leftover for future projects, and the shower curtain would add some waterproofing making the pillows more durable. I also came up with a pillowcase design that resembles a sham. That way you get a seamless look from the front but you can just pop the cover off and throw it in the wash.
Supplies
This design can be made in under an hour. The main skills you need are measuring skills and the ability to sew in a straight line. You’ll sew 4 straight lines per pillow. You’ll need a flat surface, yardstick or ruler, a cutting device (rotary or scissors), washable fabric marker, an iron or pins (check under “making the hems” to see which you need), matching thread, and a fully stocked sewing machine.
Cutting the Fabric
First up, you’ll need to make the cut. Well, cuts. I have 2-16 inch square pillows so I used a simple bit of math to calculate the size of fabric I needed to cut out.
pillow height + 1 inch = fabric height
pillow width + pillow width + 8 inches = fabric width
If you want to cheat and avoid some grade school math, just get 16 inch pillows like I did. My fabric height was 17 inches (16+1=height) and my fabric length was 40 inches (16+16+8=40). I marked the first 17×40 inch section on the fabric and cut it with a rotary cutter, though scissors will work just fine.
Since I was using striped fabric and I wanted the pillows to match, I cut off some excess fabric before cutting out my second pillowcase section so the stripes would start at the same position for both fabrics.
Making the Hems
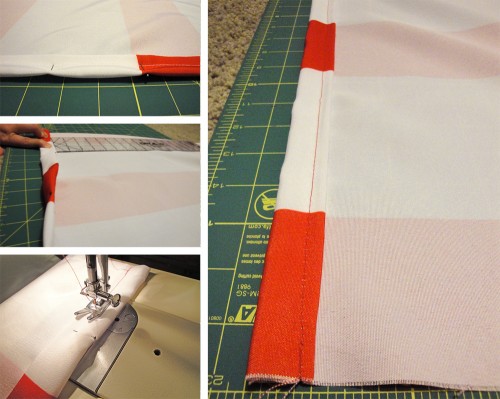
You’ll want a finished edge on these pillows so step #2 is to hem some edges. If you use a normal fabric you can use your iron to hold your seams but since my polyester wasn’t holding an ironed hem, I used pins to hold the edge.
Place your fabric right-side down. You’ll first want to fold over both of your short edges 1 inch and iron or pin it in place, then fold that same edge over 1 more inch and iron or pin this edge securely. You’ll want to sew each of these hems in place by topstitching through all three layers of fabric. I sewed about 3/4 of an inch from the right (folded) edge. Make sure to repeat this step for all the short edges on your pillows.
Creating the Pillow
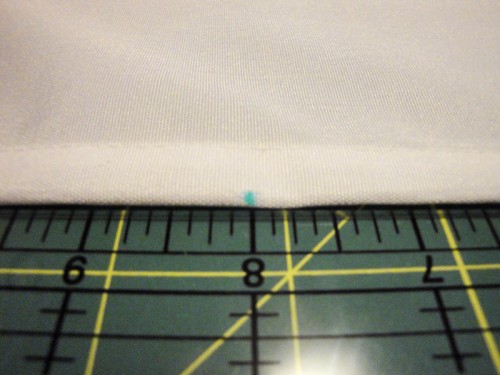
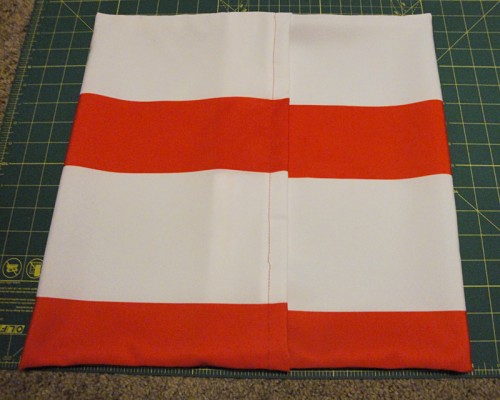
Place your fabric right-side up. You should have something resembling a placemat in front of you right about now. You’ll want to measure out the halfway point on the long side of your fabric. I started with a 40-inch length of fabric and used up 4 inches making the seams (2 inches per side) so my fabric should be at 36 inches long now. I’ll want to make my center mark at 18 inches.
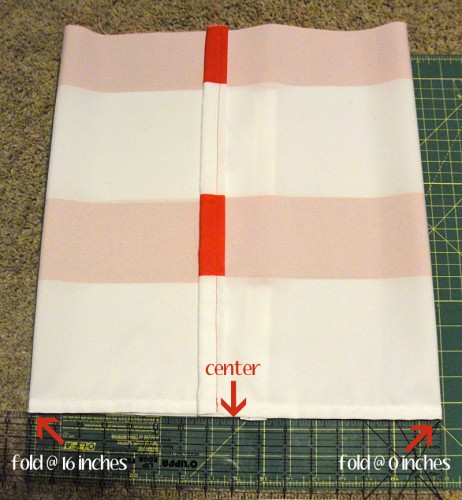
This next part is a little counter-intuitive so make sure to read it twice before attempting. My pillow is 16 inches in length so half of that is 8 inches. Place a ruler next to the edge with the 8 inch mark (or half the pillow length) of the ruler at the center mark on the fabric. Make sure your ruler is facing with 0 on the right end of the ruler for this part. Watch the images for clarification.
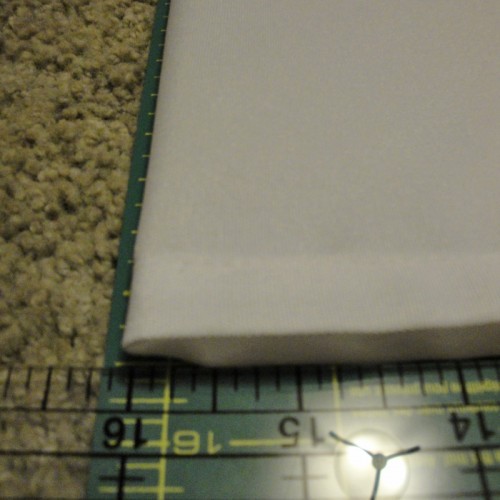
You’ll want to take the left (short) edge of your fabric and pull it toward the center. Pull the fabric until the folded edge lines up with the 16 inch mark (or your pillow’s length) on your ruler.
Now take the right (short) edge of your fabric and pull it toward the center. Pull the fabric until the folded edge lines up with the 0 inch mark on your ruler. Your fabric will overlap near the center.
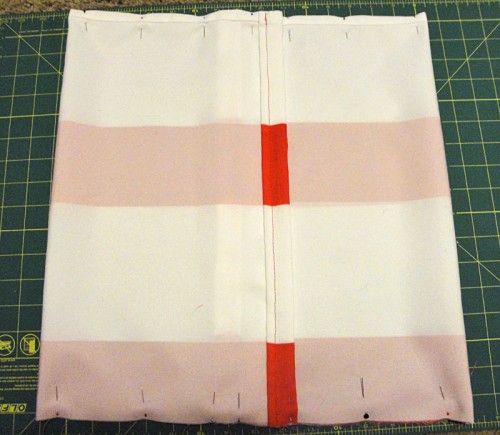
Now you’ll need to pin the bottom raw edges together. Repeat with the top raw edges.
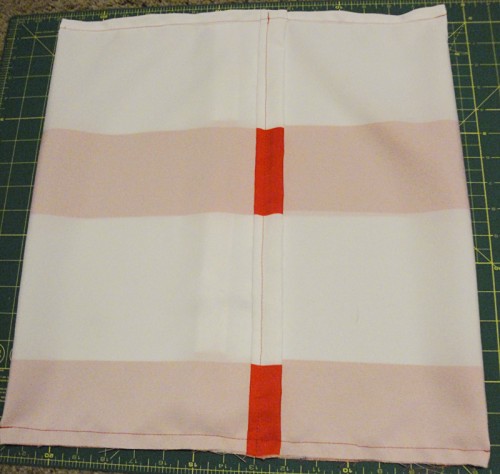
Sew a half inch seam along the bottom edge. Then sew a half inch seam along the top edge. Repeat with your second pillow.
Turn your pillow case inside out, pushing out the corners firmly.
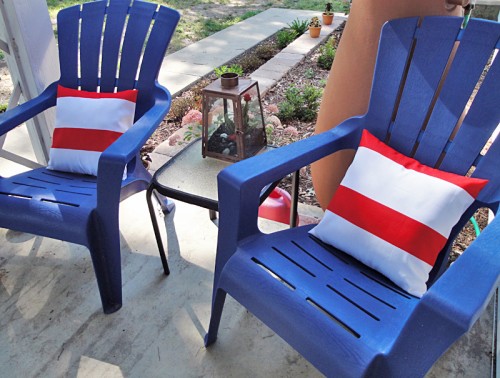
Now you can just slide the pillows into the pillowcases and you are set! The hardest part of this project is just the measuring. With 4 straight lines even a beginner can sew these pillows. See how they add that pop of color my front porch needed.



Pingback: House Tour: The Outside | The Hyper House