I’m sure all you Pinterest junkies have seen this tutorial on how to make marbleized nail polish designs.
When I was making my Christmas ornaments, I wondered if this would be possible to adapt onto the ornaments using paint. Sadly my acrylic paint was a major fail so I decided to go a little crazy and just try out some nail polish to see what would happen. My first experiment came out a little blah but it definitely showed promise. I rewatched the Youtube video and remembered to help spread my first drop of polish out a few inches and then gave it another shot.
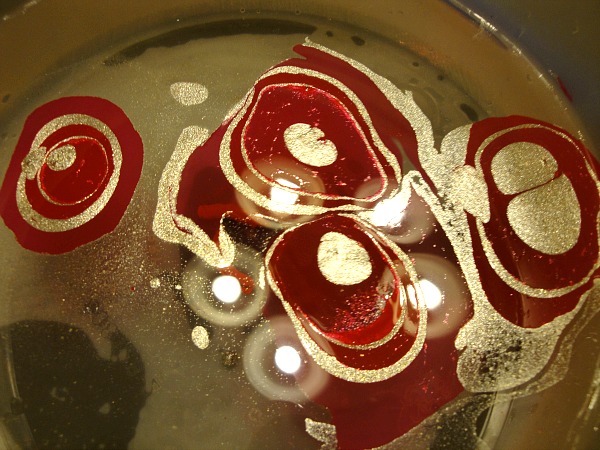
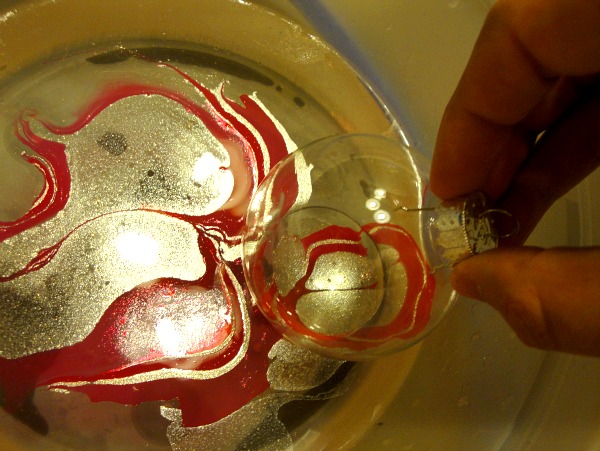
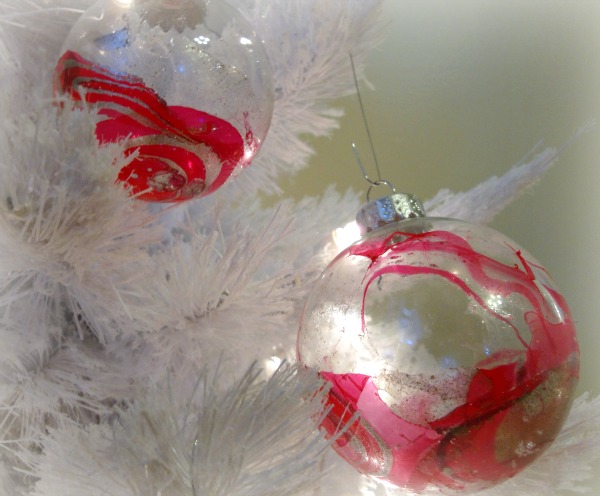
You’ll want to start with a plastic container filled halfway up with water and at least 2 shades of nail polish. The key here is to drop 2-3 drops in the center of your last circle. I alternated a drugstore red shade and gold shade, dropping each in the center of the last drops. The next step is to dip your ornament into the center of your marble pattern. I dipped the ornament’s bottom in not realizing it wouldn’t be very visible that way. Try instead to dip the side of your ornament in.
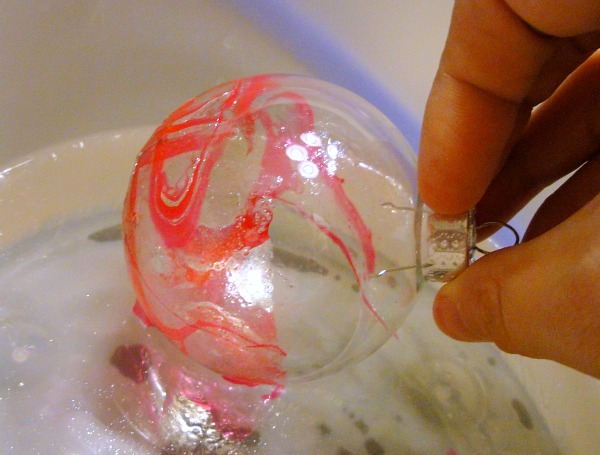
The polish will “catch” on your ornament and will stick to the curve of the design.
Depending on how you pattern your water design (this one had 3 separate circles inside of one big circle) you will end up with ornaments that can look similar or completely different.
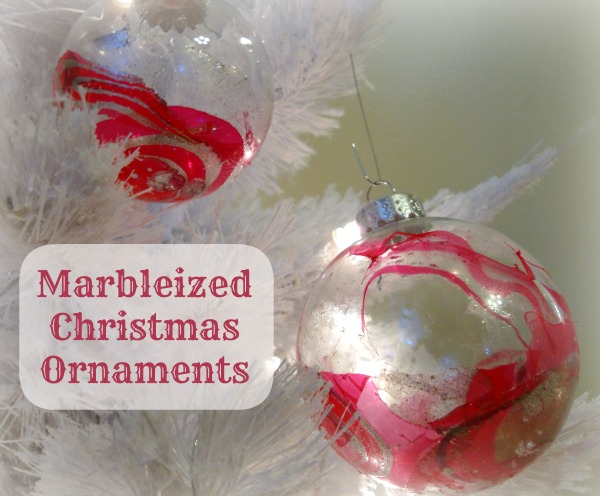
I love how these came out. If you screw up, the effect is abstract so you can just pretend it was part of the look you were going for. These were the most complicated ornaments I made and also one of the most forgiving. I’d love to see these in different colors and designs and I’m already thinking I might have to go pick up some turquoise nail polish for my peacock-themed tree I do each year.

I love these! Are those ornaments plastic or glass? Would this technique work on both?