

As part of my picnic project week, I wanted to make some great supplies for an actual picnic. Last time I went on a picnic it was during a hike at Castlewood State Park with my husband. I had planned ahead, discovering that there were some tables next to the river right at the end of one trail and before we started our second trail. When we went to sit down, some workers told us they were moving the table, leaving us with nothing to sit on. So much for that idea! I also forgot to bring napkins so I was woefully unprepared for lunch.
I wanted to be more prepared before our next hike or picnic in the park so I brainstormed a few ideas but nothing was as great as this picnic caddy I found on Snowy Bliss. As you can see above, I already had some cute blue and white plates from Target so I went back to the store to see if they had any placemats or napkins in the same line. Sadly the line was being discontinued but that meant I got the last 2 placemats on clearance. Score 1 for me!

I didn’t manage to find any cheap napkins so I decided to make my own. I used some fabric leftover from my striped porch pillows and made two handy napkins. Jen Giddens has a great tutorial for making napkins if you’ve never done your own. I followed the same method using a 14 inch square when making my own. Jen has drawings of the process and technical details while I just have some pictures.

Now back to the picnic caddy. My first goal was to have all the items I wanted to place in my caddy. I now had the napkin, some plasticware (I’m hoping to upgrade to reusable items next time I’m at the store), a straw, and a plastic bag for trash or leftovers. Since I had those, I was ready to proceed with the actual construction of the caddy. You’ll want to turn your placemat short side up and fold your placemat up till you find a height you like. I did this to the placemat on the right in the photo above.

Now the cool part about this picnic caddy is that it will roll up in the end. To help it stay put, you’ll want some ribbons to tie it shut. I used some 1/4 inch ribbon for this. I cut it 1 yard in length and then cut it into quarters. Take 2 of these 1/4 yard quarters and line them up together on the left side of your folded up placemat. When you find a position you like, pin it in place. Pin both the left and the right sides together.

Now you’ll want to topstitch around the edges. Remember to sew only where there are two layers of fabric. Since you’re topstitching, sew about 1/4″ or 1/8″ from the edge. In the photo above I show you the path to follow when sewing. Make sure to sew right over where that ribbon is.

Lastly, find an arrangement you like for your napkins and other supplies you gathered at the beginning. Sew in straight lines to make holders for all the items. I took advantage of the pattern in my placemat to hide some stitches by stitching in the ditch (aka sewing inside of the seamlines already there).

Now just roll it up and you’re good to go! I love how tiny the picnic caddy rolls up to be so it won’t take up much room in my bag or a picnic basket. It also nicely matches my plates. As a bonus, should the parks crew every steal my picnic table again, I have an actual placemat to eat off of. That’s right, I will be dining in style on my next picnic.

Linking up:

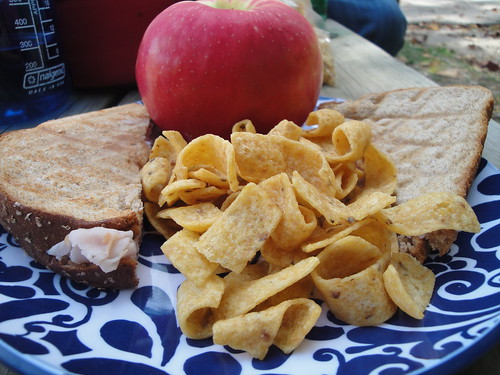
Over on my facebook page I’ve asked everyone what their favorite picnic foods are and I wanted to ask it here too. I love a good fruit spread or even just an apple or an orange while my husband insists on pudding cups for every picnic. What’s your must have?
So cute! I love everything about this project!
I love that you were able to use my little napkin tutorial 🙂 Your project turned out great!!