
I’m more than halfway done with my 2016 #BustleReads Challenge. As a reminder, this challenge is supposed to push my boundaries and help me find books outside my comfort zone that still appeal to me. Here’s my first update if you want to see books 1-5 in the challenge.
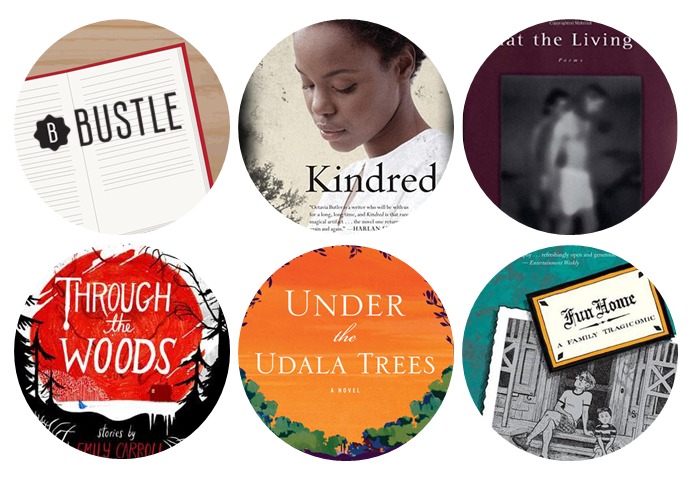
6. Read a Feminist Sci-Fi Novel:
I went into this book blind, knowing only that it was supposed to fulfill my feminist sci-fi book of the year, was highly rated, and written in the 1970s. I really wanted to know how it could meet all that criteria and honestly I was hooked from the very first sentence. This book has an incredible and gut wrenching plot but beyond that this is a book about people. People can be ugly, they can be brave, they can sacrifice, and they can push on. The people and their relationships with each other really showed you how loyalty, love, and trust can be tested. Combine those qualities with the plot and it’s a fantastic read from Octavia Butler. 5/5 stars
7. Read a Contemporary Collection of Poetry:
I tried to sit with this book and slowly read it. I read the first part, an introduction to the family and their dynamics, then put it aside and went to bed. The book stayed in my mind all night and day and when I sat down with it again, I read the entire thing. I took time to savor some poems, reading them aloud.
Each poem is straightforward but not quite simple. There are four real parts: a broken childhood, the loss of a brother, the loss of a friend while coping, and the loss of a loved one in the midst of it all. The poems are narrative but by the end go out on a hopeful note. Some favorites: “The Gate”, “Practicing”, “Without Music”, and of course, “What the Living Do”.
I read this book after my grandmother died earlier this year. It helped me feel some things I had tried to push aside and helped me acknowledge how messy death (and life) can be. 3.5/5 stars
8. Read a Graphic Novel Written by a Woman:
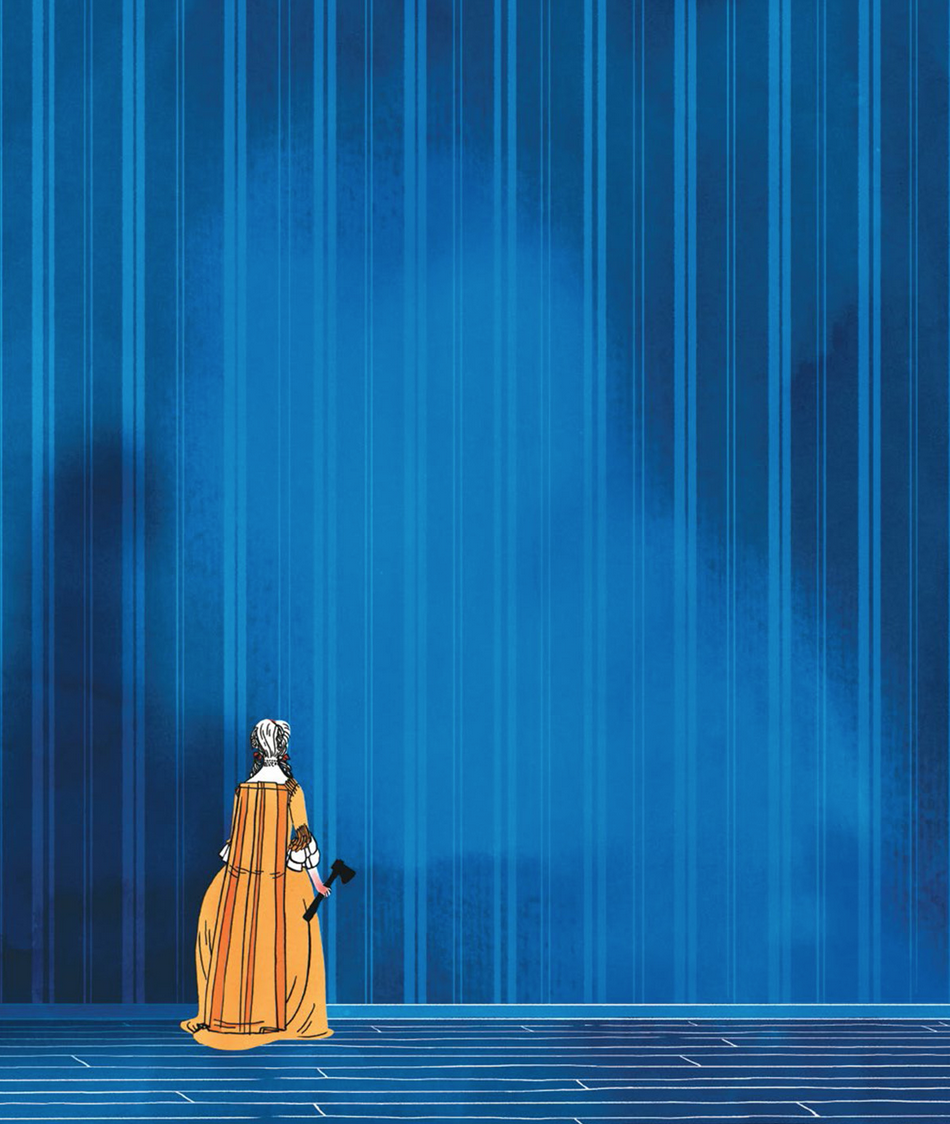
Like most kids raised in the 90s, I had an obsession with Scary Stories to Tell in the Dark. Through the Woods fits the spirit of those stories but it’s paired with hauntingly beautiful art. The book is just 5 short stories and each story has its own artistic style. The art in “A Lady’s Cold Hands” was so good at contrasting the claustrophobic feeling of parts of the plot with the vastness of the project that lays before the narrator. There’s an image of a wall that should be simple but it says so much.
The stories pray on our own insecurities and fears and still stick to popular legends and tales so while new, they seem familiar. This wasn’t the first graphic novel I read during the year and it wasn’t the last but it was definitely the most beautifully illustrated. This book really took me from appreciating graphic novels to really connecting with them as a storytelling device. 4/5 stars
9. Read a Book Set in Africa, by an Author from Africa:
I really enjoyed reading this book. I loved the variations of storytelling this book followed. The plot was not always linear, there were folk tales and Biblical lore surrounding the plot, but the story always moved forward. The writing was rich and immersive. I haven’t fully processed all of my feelings towards this book because it hits at major themes including war, cultural differences, coming of age, LGBT romance, and family and that’s a huge combo. Somehow including all of that doesn’t weigh the book down and only enhances it. I realized while reading this that I don’t know if I’ve ever read a full fictional novel by an African author and it was a gap that really made an impression after finishing. 4/5 stars
10. Read a Memoir from Someone Who Identifies as LGBTQIA:
I didn’t know what to expect out of a graphic novel memoir. Would it be too distant? Would it still feel like the memoirs I like? Luckily Fun Home really does crossover the genres well. I knew of Alison Bechdel but didn’t know her full family history so every time Alison felt shocked, I felt her shock with her. The graphic novel format really helped it to feel more immersive.
At times the writing style assumed you were just as well read as she was but in the end you could use context clues to gain the message of what comparison she was trying to make. The graphics in here wasn’t quite as “artistic” as some of the other graphic novels I read but it felt more authentic and didn’t try to be something it wasn’t. It worked.
The message of confusion and mixed emotions over so many of her childhood activities really resonated. Even when Bechdel conveyed her ideas that she thought she reacted in this way for this reason, you could still hear her doubt, that “I think” scribbled in the background. It really connected with me for that reason. Looking at the LGBTQIA angle, there’s a really interesting dichotomy in the story that helps you understand how confusing coming out of the closet can be. 3.5/5 stars


You must be logged in to post a comment.